If you’ve reached this point, you’re probably thinking about turning your race into an officially recognized event.
Congratulations! That means you’re ready to offer runners a fair, safe, and officially approved experience.
The process of measuring a course is not complicated, but it is technical, precise, and extremely important.
Let’s go through it together — step by step.
1. Contacting the Measurer – at least 2–4 months before the race
The first step is to contact a World Athletics / AIMS accredited measurer at least 2–4 months before the event date.
Why so early? Because measurers have busy schedules, and the process requires planning, travel, and time for verification.
If it’s your first edition, it’s best to provide the measurer with key details right away, such as:
- The proposed race date,
- The location and type of course (urban, rural, mixed),
- The desired distances (5 km, 10 km, half marathon, etc.).
This initial contact helps build an effective collaboration and prevents any scheduling delays.
2. Proposing One or More Course Options
The organizer usually comes with one or more course proposals.
The measurer will analyze each proposed route to verify the feasibility of measurement — meaning whether the course can be measured safely and accurately while meeting World Athletics standards.
Sometimes a course that looks perfect on a map may turn out to be impractical on-site because of roadworks, heavy traffic, or inaccessible areas.
That’s why this analytical phase is essential to select the most suitable version.
3. Setting a Measurement Date
Once the final course is decided, both parties agree on a convenient date for measurement.
Ideally, this should take place at least one month before the race, to allow enough time for adjustments or route markings.
Because measurement is difficult to perform in the rain, weather conditions should also be taken into account.
If weather or other factors prevent the operation, the measurement can be rescheduled.
4. Traveling to the Location
Transportation depends on distance:
- By car, if the location is easily reachable by road;
- By plane, for races held in other regions or countries.
If the measurer travels by plane, the organizer must provide a road racing bicycle (racing bike) suitable for installing the Jones Counter, the device used for measurement.
It’s essential that the bicycle is in good technical condition and the tires are properly inflated for the road surface of the course.
5. Course Inspection
Before the actual measurement, the measurer and the organizer conduct a complete reconnaissance of the course.
This stage usually takes 1–3 hours and aims to identify:
- Sections with traffic or roadworks,
- Potentially dangerous spots,
- Intersections that require additional markings,
- Key points for the start, finish, and kilometer marks.
During this step, special situations (temporary restrictions, inaccessible areas, etc.) are discussed, and technical solutions are determined.
6. Calibrating the Measurement Device
Before any course measurement, the measurer establishes a calibration course — a straight section of road, 300–500 meters long, used to verify and adjust the precision of the Jones Counter.
This is a crucial step, as it determines the measurement unit used throughout the entire process.
Calibration takes about 1–2 hours, and the measurer records all control data for inclusion in the final report.
7. Measuring Under Safe Conditions
If the course is located on a busy road, the measurement is performed at night, to minimize traffic.
If traffic is heavy even at night (or if parts of the route go against traffic), the organizer must ensure police assistance for safety.
The measurement is carried out at low speed using a bicycle, following the ideal running line — the shortest possible path between the start and finish.
8. The Actual Measurement and Distance Adjustment
Once the equipment is calibrated, the actual measurement begins.
The measurer rides the bicycle along the course several times, recording counter readings at each key point.
After calculating the total distance, the measurer determines where to make small adjustments to achieve the exact target distance (for example, exactly 10,000 m for a 10K).
Adjustments are typically made by shifting the start or finish line a few meters, or by slightly widening part of the course.
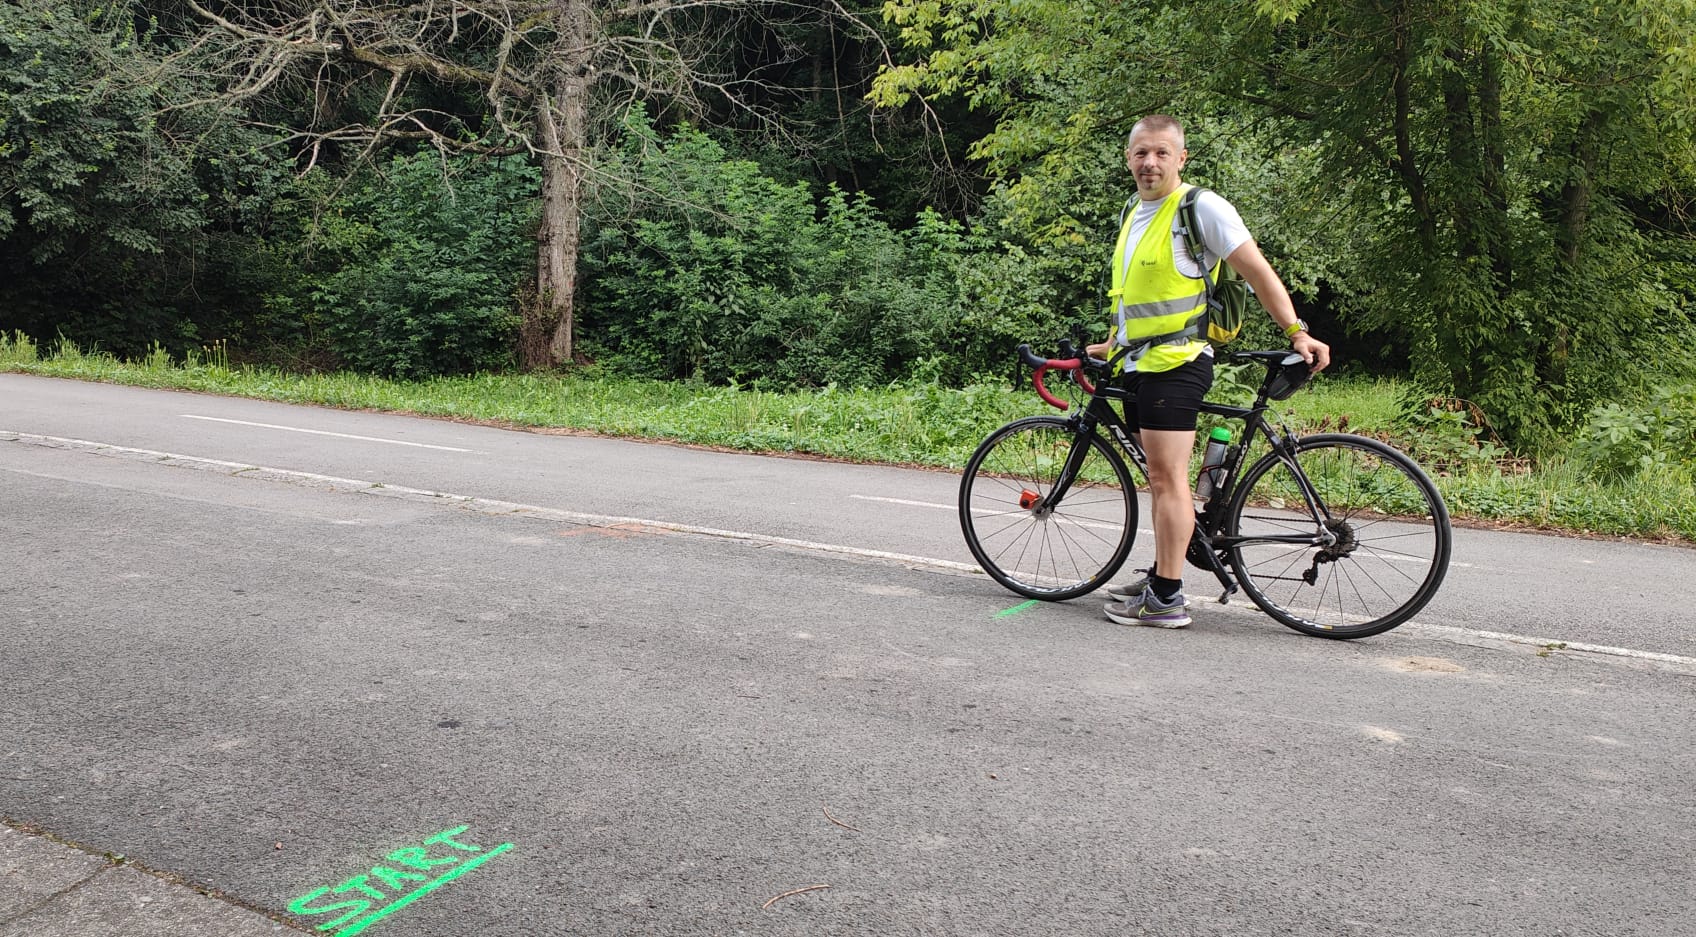
9. Marking Important Points
After the measurement is completed, the following are marked:
- The Start and Finish lines with metal surveyor nails (for permanent reference).
- The kilometer markers along the route, which will be used on race day.
These markings are vital for future verification and ensure the course can be precisely reproduced for subsequent editions of the race.
10. Documentation and Final Report
After completing the measurement, the measurer compiles detailed documentation, including:
- The course sketch/map,
- Photographs of key points,
- Calibration data and technical notes.
All this information is included in an official course measurement report.
About one week after the measurement, the organizer receives:
- The World Athletics / AIMS Distance Certificate,
- The “World Athletics Measured Course” badge,
- A certification valid for five years, provided the course remains unchanged.
This report is the document that certifies your course complies with international standards and can be used for records, qualifications, and official competitions.
Important Recommendation
On race day, it is strongly recommended that the organizer has the official measurement report on-site, to ensure the course is set up exactly according to the measured specifications.

Leave a Reply